Interface
The PowerProps panel is simple yet it hides a lot of useful functionality on secondary layers. Mouse-over the buttons to view additional functions that they offer while holding a modifier key.

Location
First choose whether to view properties that are stored on the object or in object data. The typical use case will be on the object itself so that object data can be reused but you may occasionally have a reason to store custom properties in object data.

Buttons

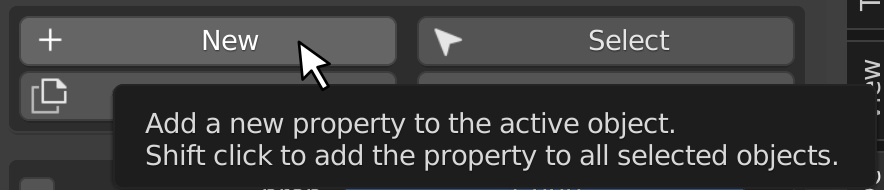
New
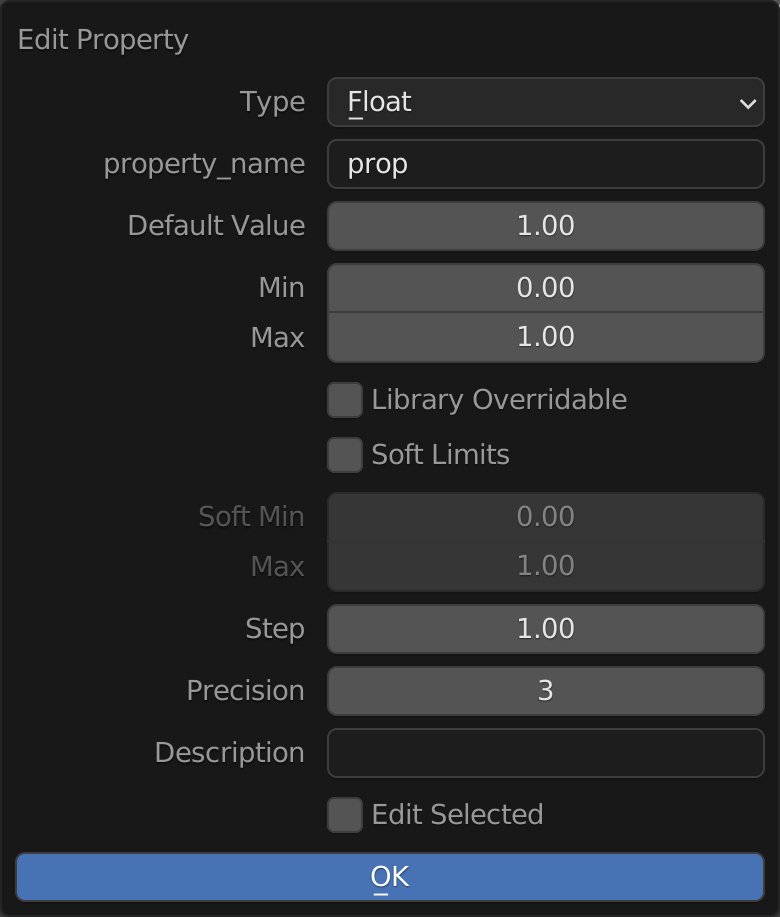
Clicking the New button will create a new custom property on your object and immediately invoke the Edit Property dialog which will allow you to set a type, give it a name, a default value and a range in which to operate.
You can set soft limits to corral values within a certain range while still allowing the user to manually type in more extreme values. You may also want to set stepping and precision control and write a short description to help the user understand how to use the property. The checkbox at the bottom will allow you to do this to all selected objects at once. Shift-clicking the New button will have this option pre-enabled.
The following three buttons require you to have a property selected using its adjacent checkbox to the left of the panel.
Copy
Simply clicking the Copy button will copy selected custom properties and their current values from the active object to all other selected objects.

Shift-clicking the Copy button will only copy the value of the selected custom property to objects that have the corresponding property while ignoring others.
Control-clicking the Copy button will not only copy the selected custom properties and values but also discreetly copy their connected drivers so that destination objects have individual control.
Alt-clicking the Copy button will copy the property to objects that don’t already have it and use the default value instead of the value on the active object.
Select
Clicking the Select button will select all visible objects that also contain the selected property. If you have two selected properties, it will select the objects that contain both properties.
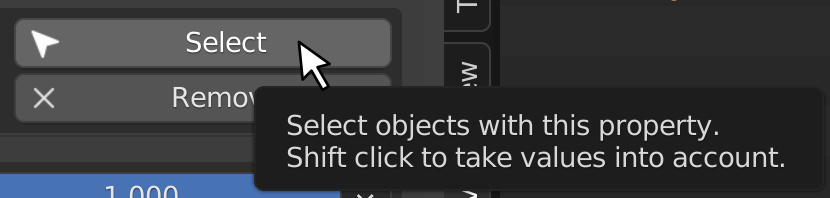
Shift-clicking the Select button will select all visible objects that match the value of the selected property. With two selected properties, it will select the objects that satisfy both values.
Remove
Clicking the Remove button will remove the selected custom properties from the active object.

Shift-clicking will remove the selected custom properties from all selected objects.
Control-clicking the Remove button will remove the drivers that depend on the selected properties.
Properties List
The Properties List displays all the of the custom properties on the active object. The checkboxes allow you to select multiple custom properties to perform your Copy, Select or Remove actions.
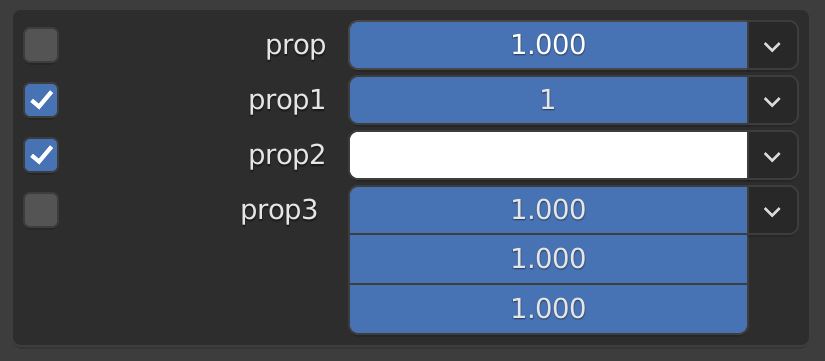
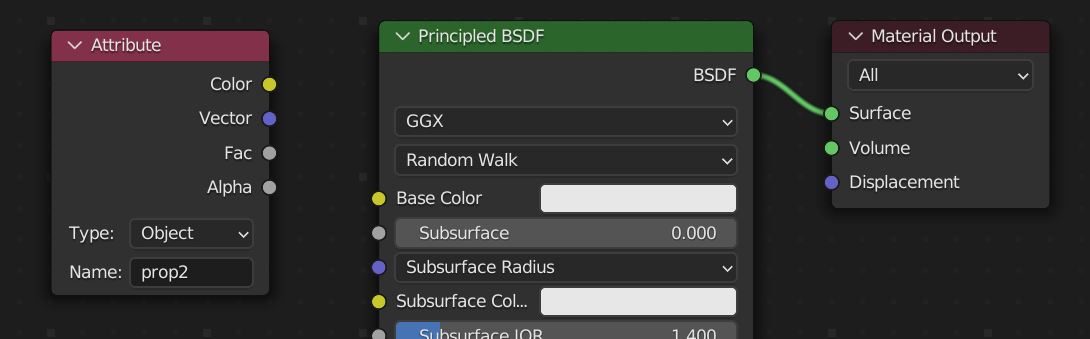
Each custom property has its own dropdown that allows you to perform the actions above as well as edit the property itself, randomize the values within a range and create a material Attribute node within the active material that is preloaded with the relevant information to utilize the custom property.
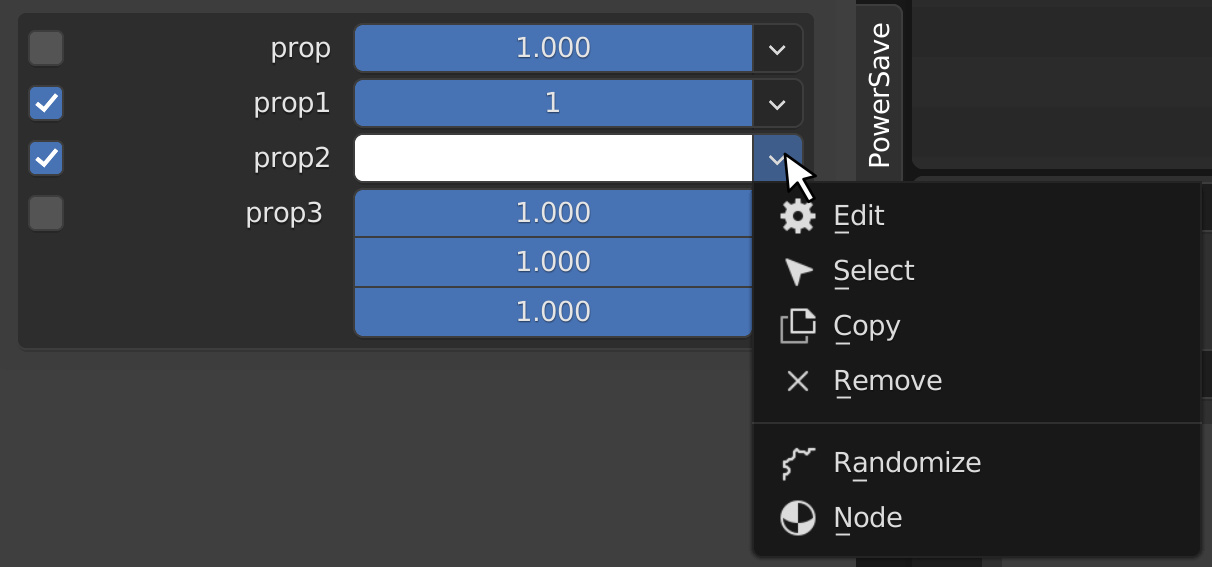
Randomize
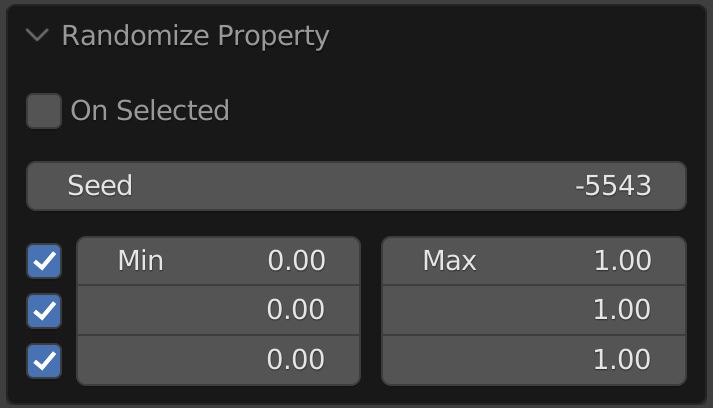
Clicking Randomize will invoke the redo panel in the bottom left of the 3d viewport that allows you to change variables for the randomize function such as the seed, the range and the objects that it is affecting. Randomize is only available to properties with numeric values.
Node
Clicking the Node option will create an Attribute node in the active material. This node is prepopulated with the information you need to use the custom attribute and you can access it in the Material Editor.