Common Use Cases
Materials
Color
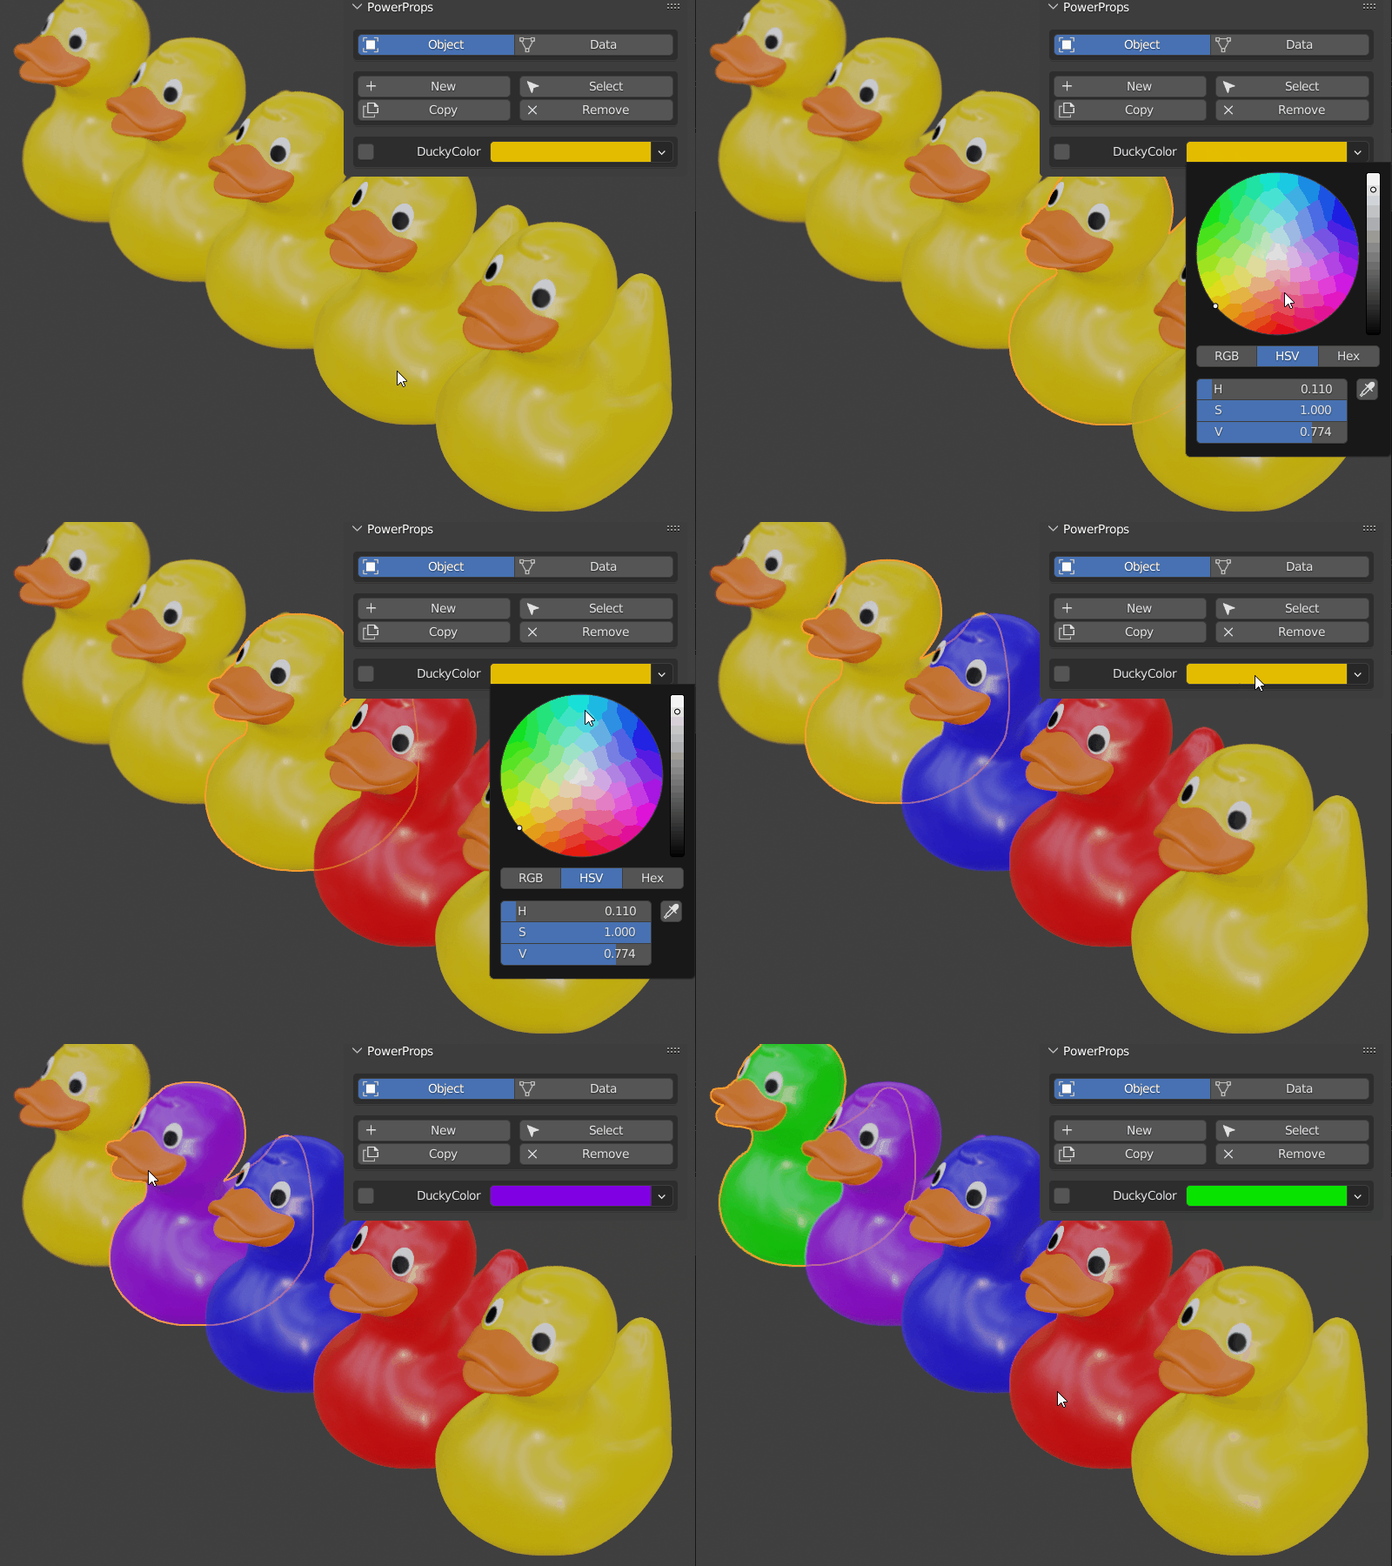
Create a new property and set it to The Float Array type and Linear Color subtype. Next click the dropdown on the right side of the property and choose Node. Plug the new node into a color input in the material editor. You can now use this color control on any object that has this material applied as well as the custom property.
Values
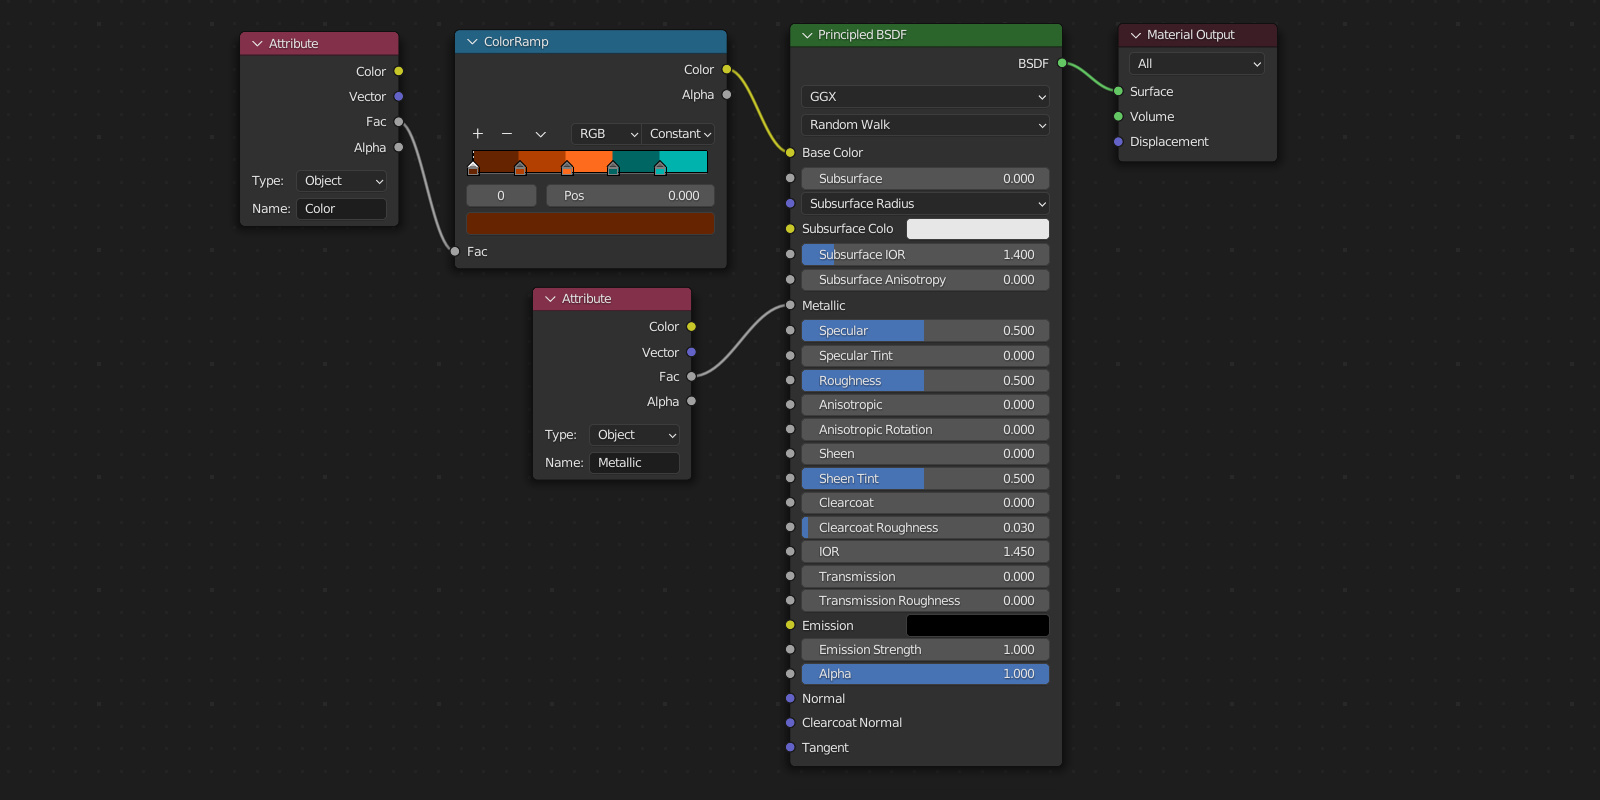
Create a new property and click the dropdown on the right side of the property and choose Node. Plug the new node into a factor input in the material editor. You can now use this property to control any aspect of the material that needs a 0-1 value.
Switch
Create a new property and set its type to Integer. Use the material node to control any aspect of your material that requires 0/1 on/off switch.

Vector
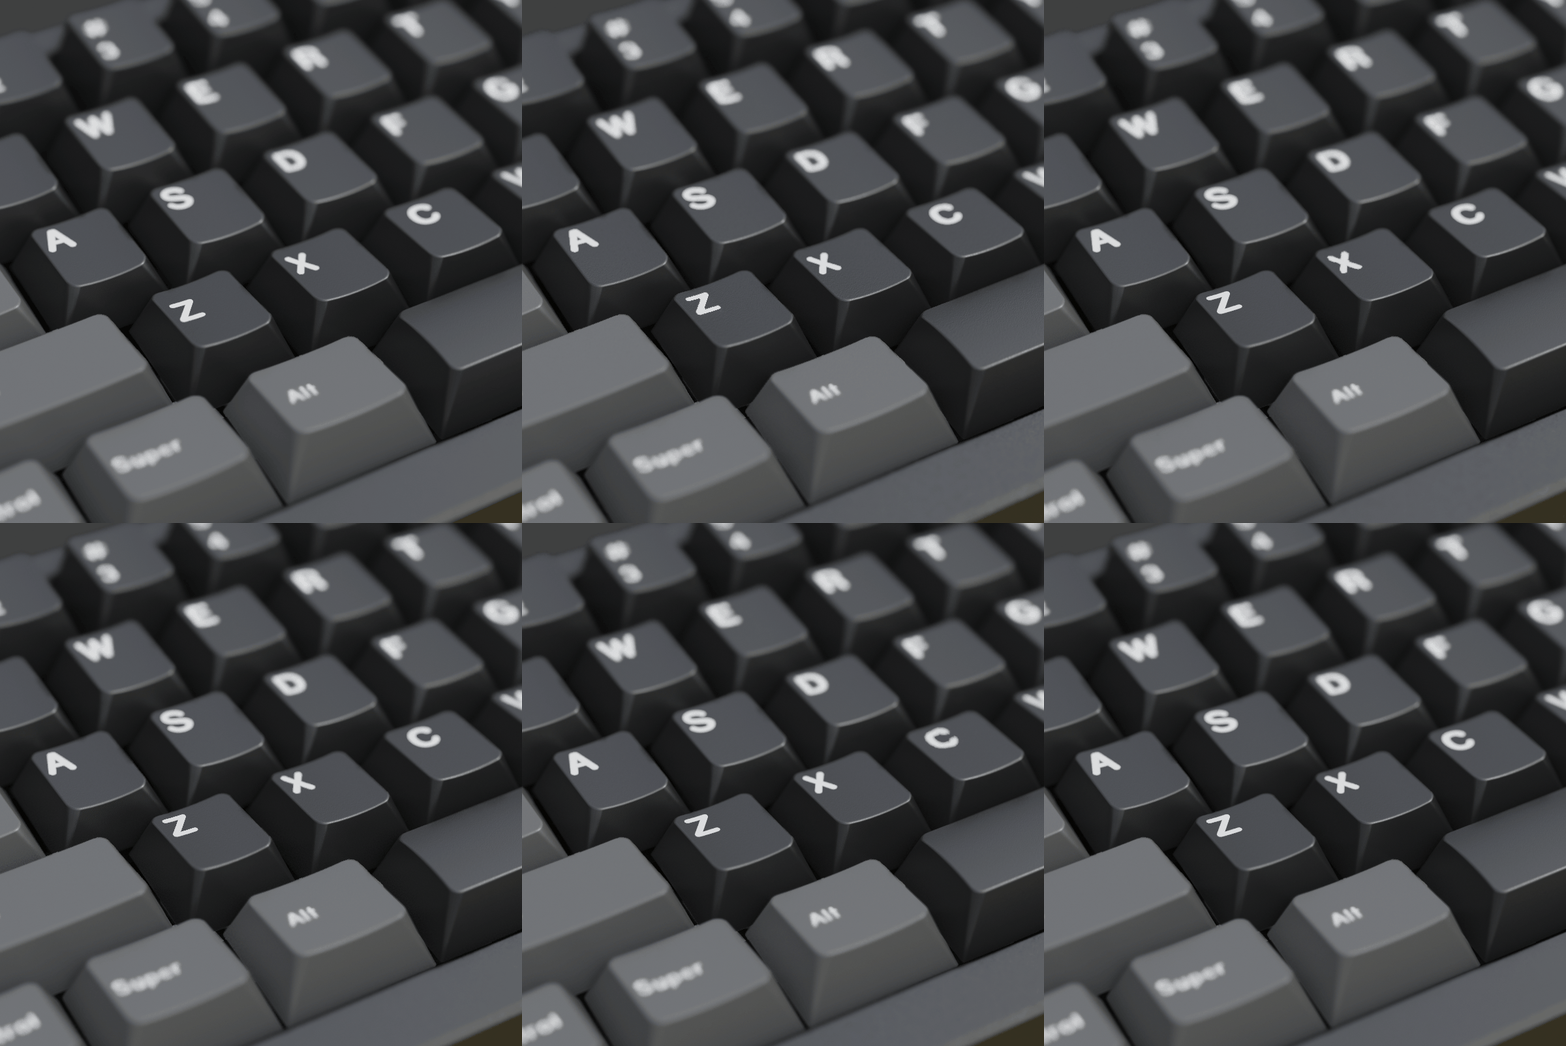
Create a new property and set the type to float array. Use this property anywhere you need a vector in the material. For example to offset UV coordinates when plugged into a mapping node.
The following workflows require drivers and will need to be copied with Ctrl Click.
Modifiers
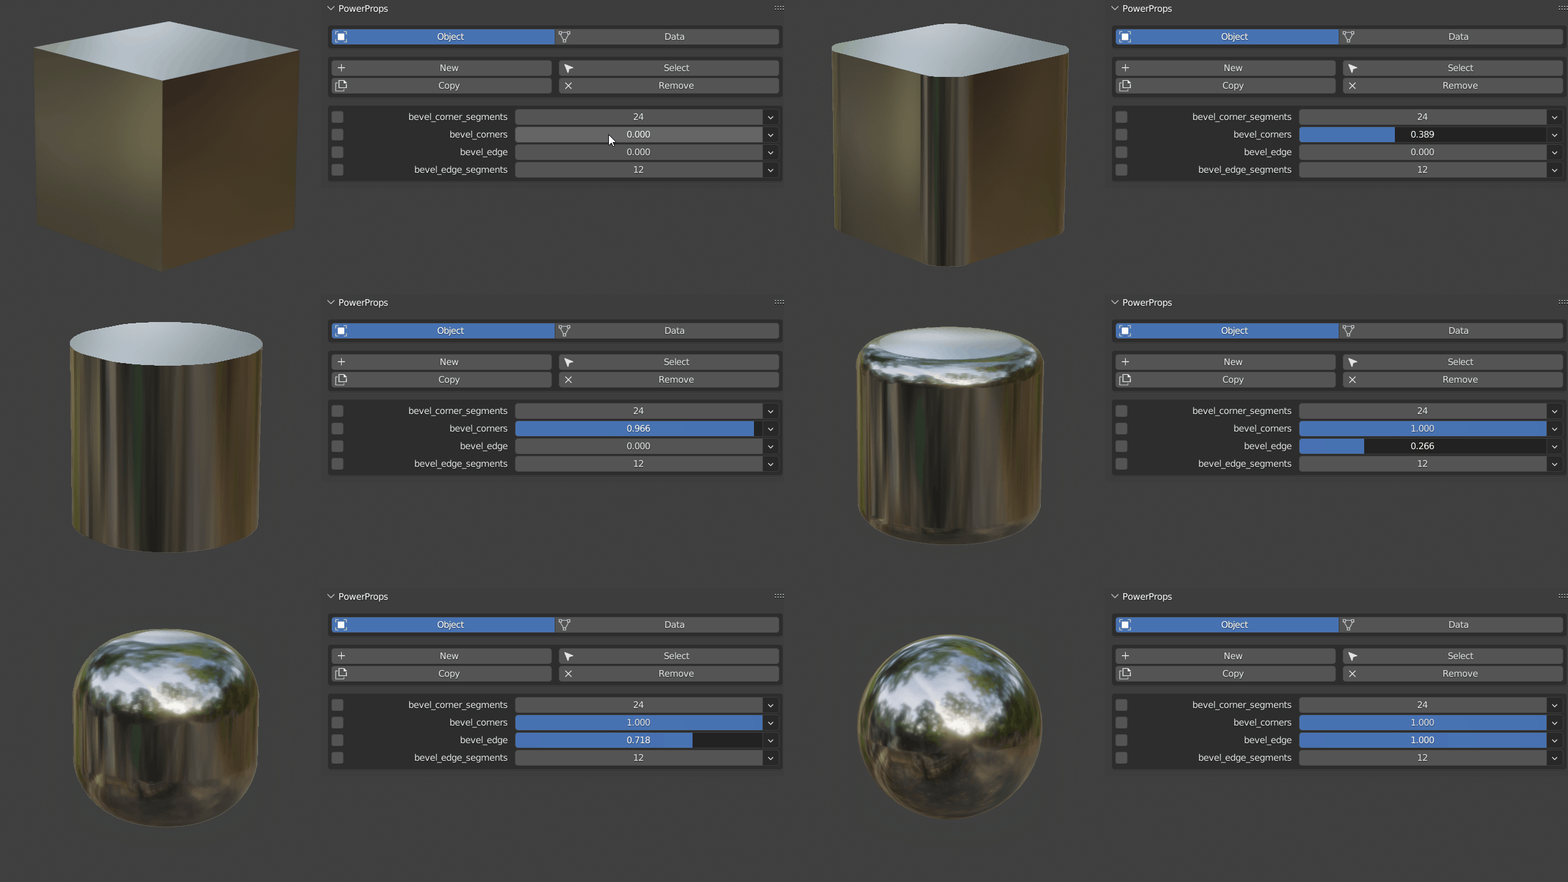
Right click on a value field in a modifier and choose Drive With Property. This will create a driver and a property that controls the corresponding settings. For example controlling the size number of segments in a bevel.
Geometry Nodes
Connect the desired input value to the group input of your geometry nodes network. Right click on the new input in the geometry nodes modifier in the modifier properties and choose Drive With Property.
Constraints
Right click on a value field in a constraint and choose Drive With Property. This will create a driver and a property that controls the corresponding value.
Viewport Display Settings
Right click on a display setting and choose Drive With Property.